10 tips to ensure the success of your cuttings
Article for :All parent plants

Article summary
- What is propagation by cuttings?
- Tip #1: Choose the right plant
- Tip #2: Take cuttings at the right time of year
- Tip #3: Choose the Right Stem
- Tip #4: Use a clean, sharp tool
- Tip #5: Cut the Right Way
- Tip #6: Follow the proper method for taking cuttings
- Tip #7: Plant in the Right Substrate
- Tip #8: Finding the Right Location for Your Cuttings
- Tip #9: Take multiple cuttings
- Tip #10: Keep an eye on your cuttings
All gardening enthusiasts dream of expanding their plant collection for free. To do so, they have a secret weapon: plant propagation. Have you decided to take cuttings from your favorite Monstera Variegata to trade for a caladium bulb? Do you want to revitalize a plant that's looking a little tired? Follow these 10 tips to ensure your cuttings take root every time.
What is propagation by cuttings?
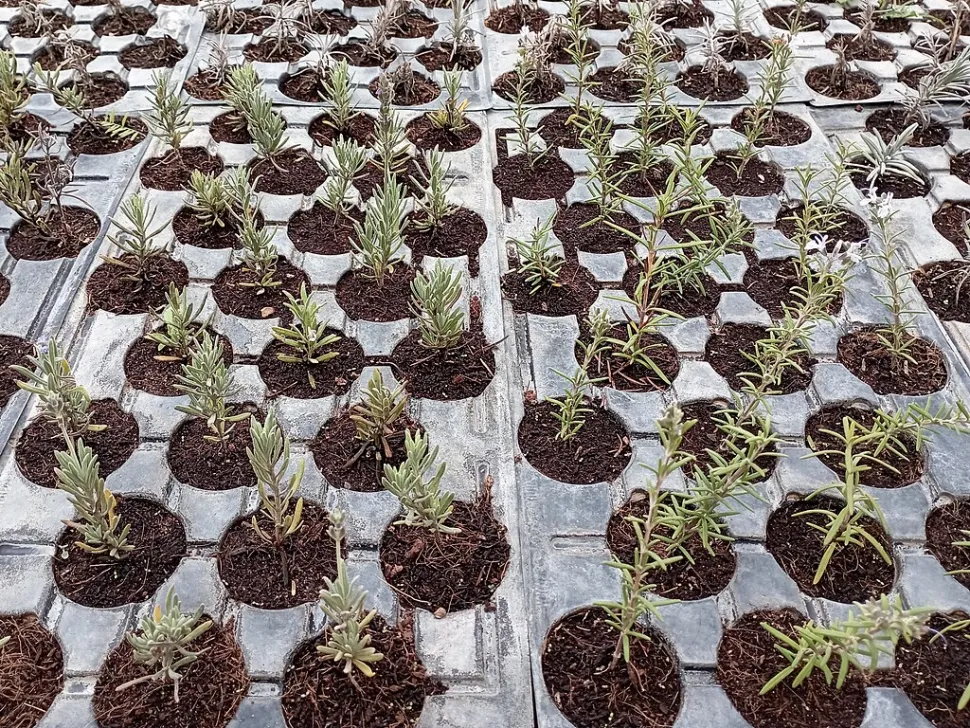
Soon, these lavender cuttings will fill our gardens with their fragrance—Photo by Juan Carlos Fonseca Mata /Wikipedia
Propagation by cuttings is a technique for multiplying plants. Propagating a plant by cuttings involves taking a section (stem, leaf, trunk) and rooting it to produce a new plant, independent of the parent plant.
There are other techniques for propagating plants, such as:
- sowing seeds;
- layering;
- taking suckers;
- dividing clumps.
Taking cuttings produces a plant that is genetically identical to the parent plant. The cutting will have the same characteristics (leaf and flower color, foliage shape, scent, etc.) as the plant from which it was taken.
Tip #1: Choose the right plant
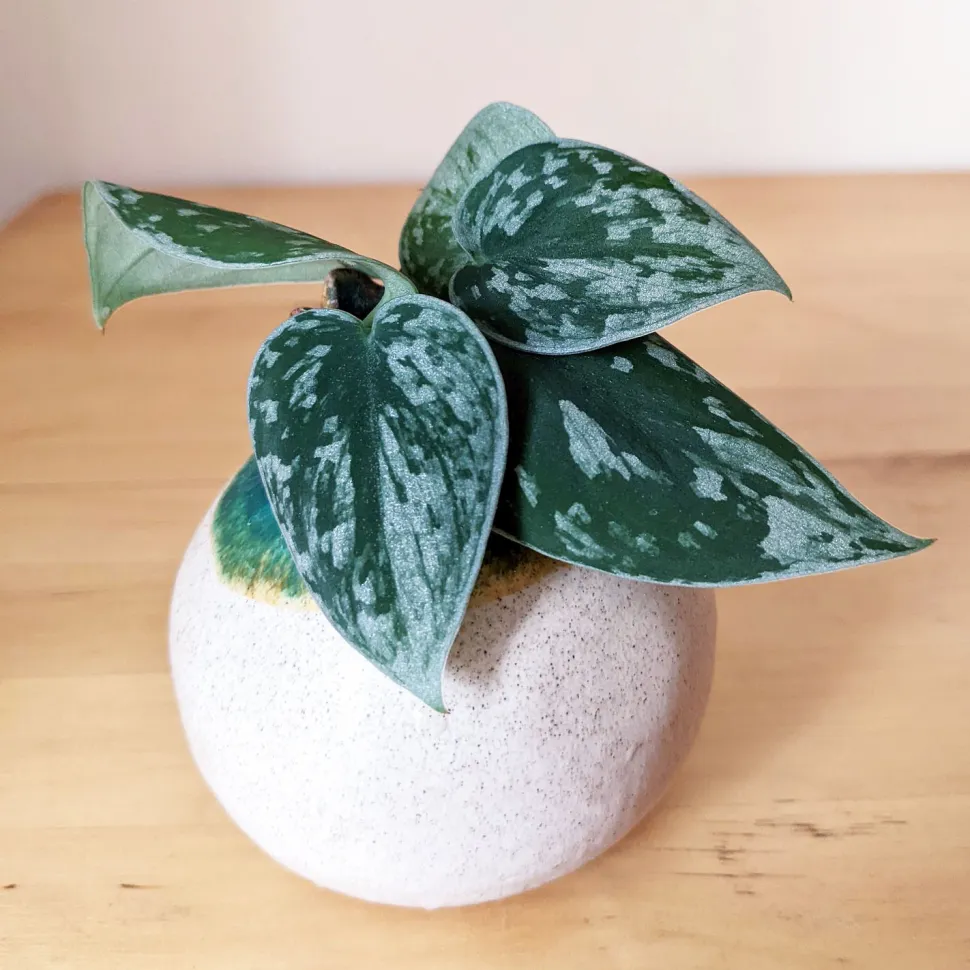
Spotted Pothos is an easy variety to propagate from cuttings – Photo by Blueleaf22 /Flickr
Not all plants can be propagated by cuttings. Some plants, such as conifers and annual flowers, reproduce by sowing. Others, such as fruit trees and certain rose bushes, are primarily propagated by grafting. Finally, bulb plants (tulips, daffodils, and narcissi) use their underground parts to reproduce.
Before you get started, make sure the species is suitable for propagation by cuttings. There's no point in trying to take a cutting from a poppy, an Echeveria leaf, or a banana plant stem. The process has no chance of success. You'd be wasting your time and would end up with nothing but frustration.
On the other hand, some plants are easy to propagate from cuttings.misery (Tradescantia zebrina), pothos (Epipremnum aureum), begonias, and chain of Hearts (Ceropegia woodii) are among the easiest varieties to propagate.
Tip #2: Take cuttings at the right time of year
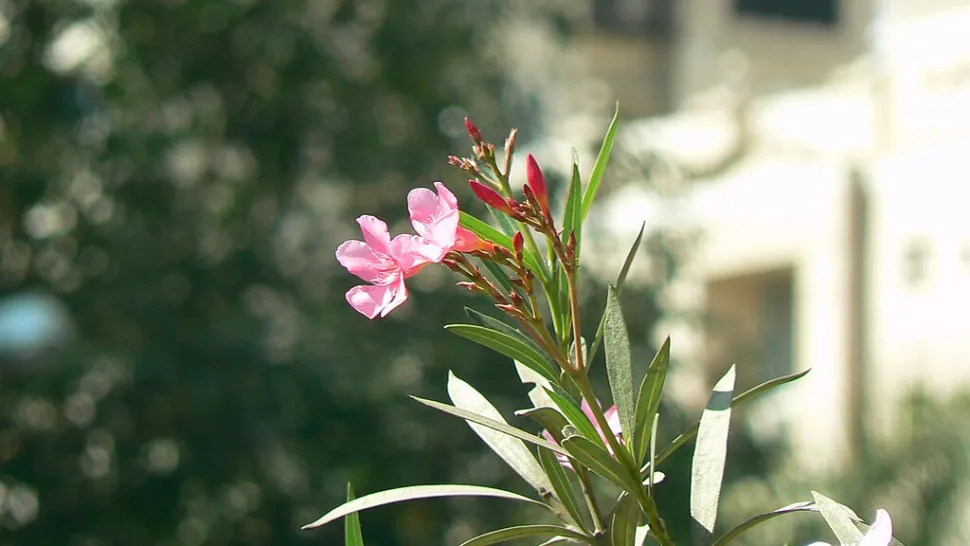
The best time for taking cuttings depends on the species—Photo by Dinesh Valke / Wikipedia
Most cuttings need warmth and light to grow. That's why it's generally recommended to take cuttings in early spring, so that the young shoot can develop roots before winter. This time of year coincides with the plant's growing season, another factor that increases your chances of success.
However, not all plants are propagated in the spring. For example, semi-woody or semi-hardy plants such as hibiscus, oleander, roses, raspberries, or star jasmine are best propagated by cuttings in late summer or early fall. For some, you can even wait until winter.
Tip #3: Choose the Right Stem
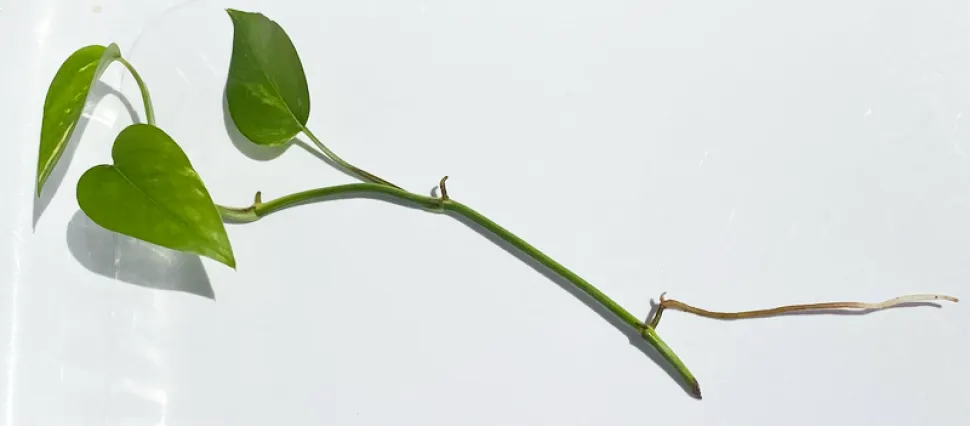
If it has aerial roots, even better! Photo by Ddra5202 / Wikipedia
The success of your cutting depends largely on the section you take from the parent plant. Before reaching for your pruning shears, carefully examine your shrub or plant to determine where to make the cut.
Choose a healthy leaf, stem, root, or branch. It should not be infested with pests or show any signs of disease. If you're taking a leaf cutting, select a whole leaf that hasn't been eaten by slugs or snails.
In most cases, you should also take a stem that has no flowers.
Finally, your cutting must be long enough. Depending on the species, you'll need to bury five to ten centimeters of it in soil or water so that enough roots can develop. So don't be afraid to cut a fairly large section with several nodes.
Tip #4: Use a clean, sharp tool
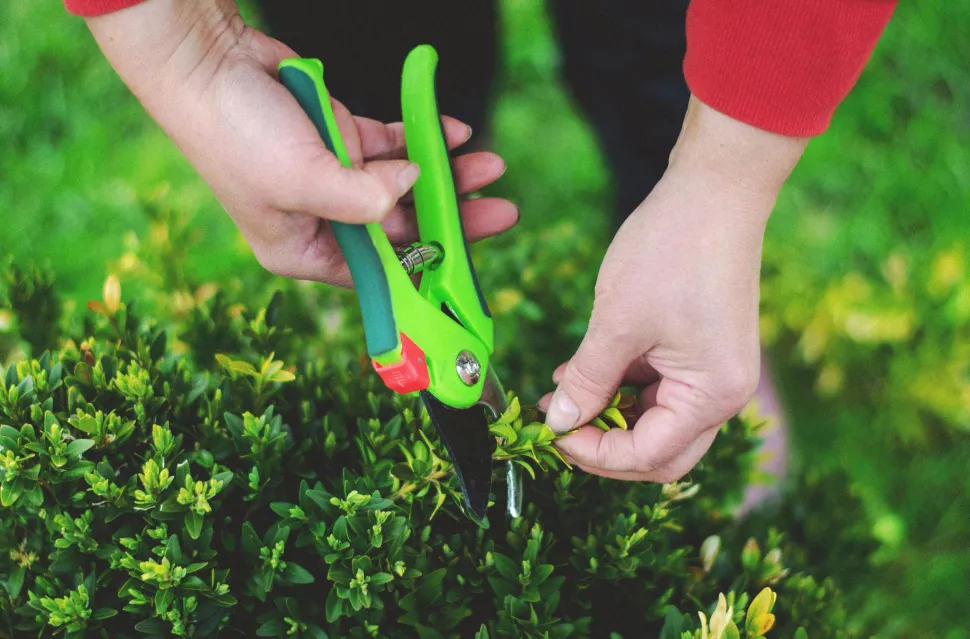
Also clean your pruning shears between taking cuttings from different plants – Photo by Tamara Elnova / Pexels
When taking a stem, branch, or head cutting, you must cut off a part of the plant. While this process is, in theory, painless, it is not without risk. In fact, the cut leaves a wound and can also lead to disease.
To help your plant heal more easily and prevent fungal infection, always use a clean, sharp tool. Disinfect your scissors, knife, or pruning shears with alcohol before using them.
Some gardeners also like to sprinkle the wound with charcoal or cinnamon to reduce the risk of infection and rot. Others apply a healing hormone, but this isn't necessary—especially if you've cleaned your tools before taking the cutting!
Tip #5: Cut the Right Way
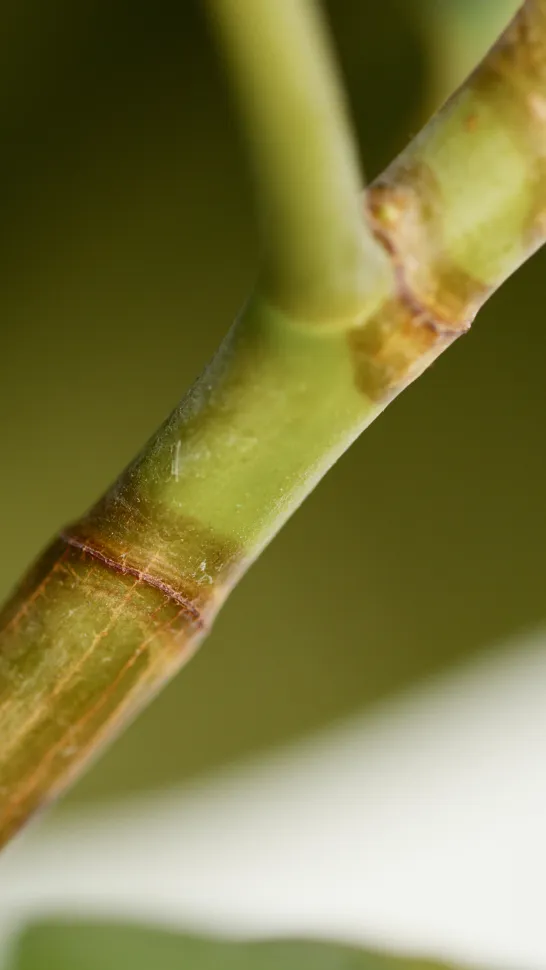
A node is the point where a leaf or twig attaches to the stem—Photo by Artem Podrez /Pexels
When taking a cutting, we recommend cutting just below a node. This is because nodes contain higher concentrations of auxin, a naturally occurring hormone that promotes root development.
Also, cut the stem at an angle. This increases the contact surface between your cutting and its growing medium and promotes the growth of new roots.
Tip #6: Follow the proper method for taking cuttings

Preferably use rainwater at room temperature – Photo by John Leffmann / Wikipedia
Not all plants are propagated with cuttings in the same way. String of Pearls (Curio rowleyanus) and succulents are planted directly into the soil. Cuttings of Fittonia, Hypoeste, or Philodendron need to spend a few weeks in water to develop their roots.
In addition, some cuttings root better under cover, when they're placed under a translucent dome that maintains high humidity. For others, this method can cause rot and isn't recommended.
Not sure which method to use? Download the Monstera app. Our care guides outline the steps for taking cuttings from each variety. When multiple options are available, we suggest the one with the highest chance of success.
Tip #7: Plant in the Right Substrate
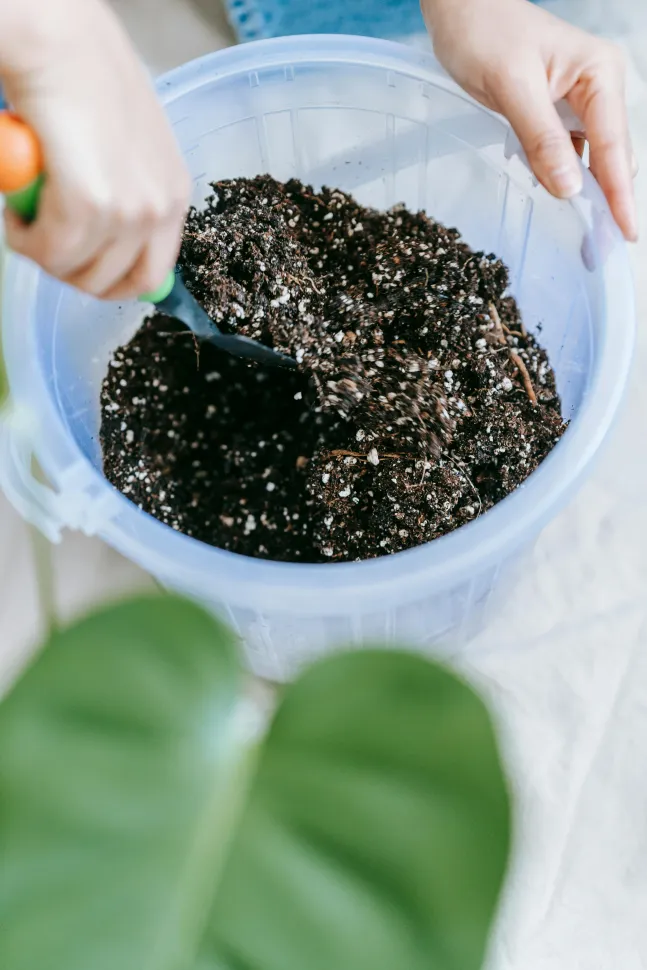
You can't successfully take cuttings without a good substrate—Photo by Erik Mclean / Pexels
The growing medium plays a key role in the success of your cuttings. Houseplants require a rich, lightweight substrate, such as sowing mix. Choose a high-quality substrate that will provide your new plants with all the nutrients they need to thrive.
But sowing substrate isn't suitable for all species. Cacti and succulents, for example, prefer a well-draining substrate. For potted outdoor plants, a mix containing garden soil is often recommended.
You can find a suitable substrate for your plant at a garden center. But you can also make your own. The ingredients and proportions depend on the variety you're propagating. However, you'll almost always need:
- a rich potting mix (for houseplants, sowing, flowering plants, etc.);
- a drainage material (river sand, perlite, pozzolan);
Other materials, such as bark, peat, or sphagnum moss, are necessary for propagating plants with specific needs, such as epiphytes or carnivorous plants.
Tip #8: Finding the Right Location for Your Cuttings
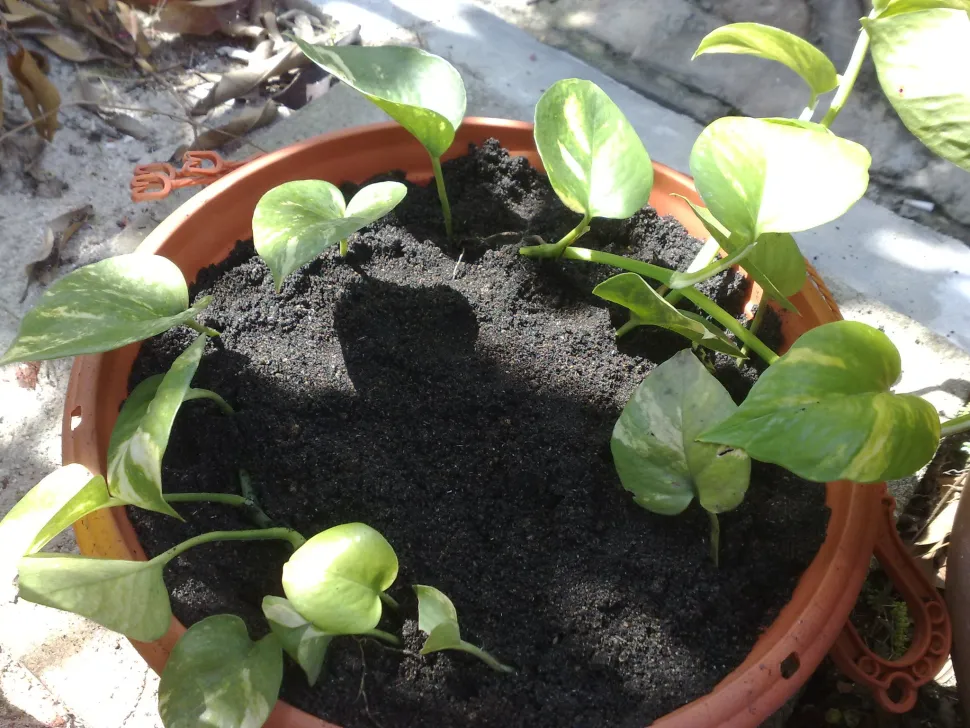
In the summer, you can leave your houseplant cuttings outside—Photo by Francis Chung /Flickr
Cuttings need light to grow, but they shouldn't be exposed to direct sunlight.
When taking cuttings from your houseplants, it's often best to place your pots in front of a window with a sheer curtain. This way, your young shoots will receive as much light as possible.
When taking cuttings from shrubs, perennials, or trees outdoors, place them in a spot that's sheltered from the wind and gets plenty of light. An east-facing spot, to catch the morning sun, and against a wall is ideal.
Tip #9: Take multiple cuttings
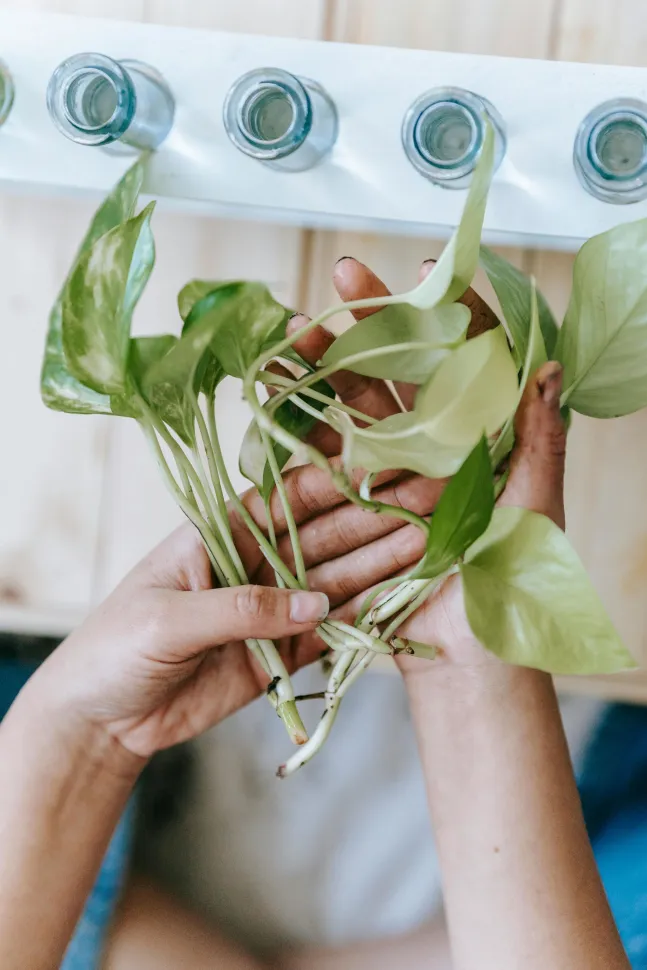
With multiple cuttings, you can also try different methods on each one—Photo by Teona Swift/Pexels
Taking cuttings is far from an exact science! Even if you follow our tips to the letter, you're not immune to unpleasant surprises. So it's best not to put all your eggs in one basket.
Feel free to take several leaves or stems to make multiple cuttings at once, in different pots. If one of them doesn't take root, you can always count on the others to give you new plants.
Some cautious gardeners recommend taking seven to eight cuttings at a time. If you're worried about ending up overrun by an army of Peperomia or if your rose bush isn't bushy enough to yield that many shoots, stick to four or five cuttings at a time.
Tip #10: Keep an eye on your cuttings
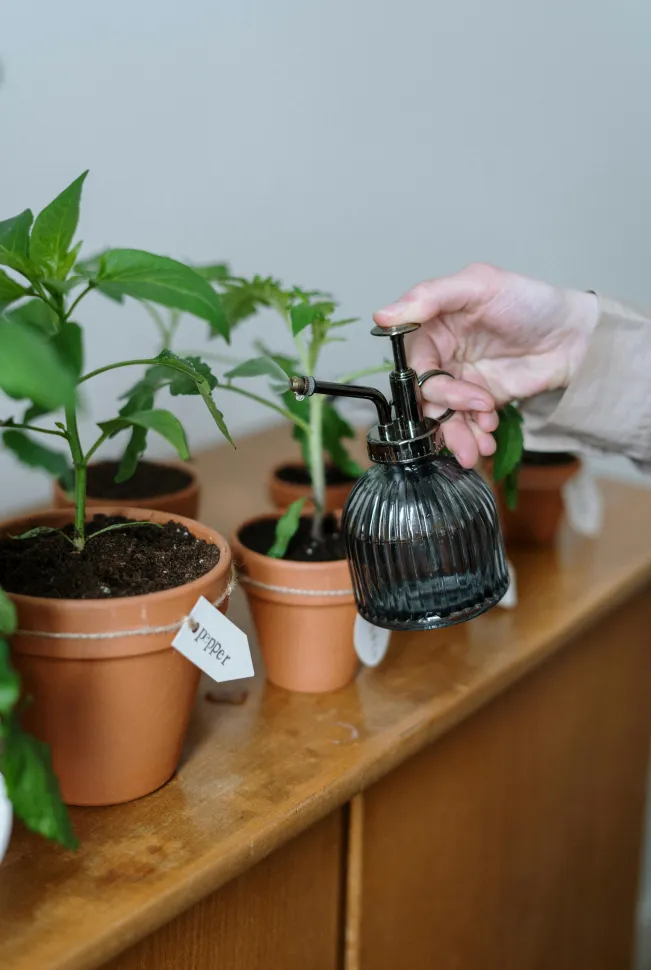
After a few weeks, you'll know if your cuttings have taken—Photo by Cottonbro studio / Pexels
Did you think the hardest part was over once you cut a branch from your mini-Monstera? Think again! Now you'll have to wait for your cuttings to take root. But don't just sit back and hope your cutting will grow new leaves. While your young shoot is working to develop roots, you'll need to give it a little help.
Start by checking the condition of the substrate. With few exceptions, the potting mix should always remain slightly moist. Instead of watering it, mist it regularly with rainwater. It'll be wet, but you won't risk overwatering it.
If you're using covered cuttings, be sure to ventilate your setup every day. Remove the lid, bag, or plastic bottle for a few minutes to prevent rot.
Are your cuttings in a glass of water? Make sure the water level doesn't drop and that the water stays clear. When the water becomes cloudy, change it. As with watering, use room-temperature water and, if possible, collected rainwater.
Finally, be patient before transplanting your cuttings. You must wait until the root system is sufficiently developed before potting or repotting your plant. The speed at which roots appear varies from one species to another and depends on the conditions under which the cuttings are taken. When taking cuttings in water, you'll see roots form after a few weeks. For cuttings in soil, the emergence of a new leaf is usually a sign that the roots have begun to grow. However, sometimes the first leaves develop before the root system does. Wait until several leaves have appeared before repotting.
 Plants toxic to cats and dogs: varieties to avoid in the garden and indoors
 Seaside garden: which spray-resistant plants to plant?
 Vegetable gardening: 10 mistakes that ruin your harvests