Davallia canariensis, a fern with rabbit's feet
Davallia canariensis
- Exposures
- Sun, Half-shade
- Hardiness (USDA)
- 9b (-3.9°C ≤ T° < -1.1°C)
- Lifecycle
- Perennial
- Foliage
- Evergreen
- Family
- Davalliaceae
- Genus
- Rabbit's foot Davallia
- Species
- Davallia canariensis
Other names:Caenopteris canariensis, Trichomanes canariense, Trichomanes montanum, Davallia bornmulleri, Polypodium lusitanicum
Do you dream of adopting a fur ball, but your landlord only allows green plants? Get yourself a Davallia canariensis. Native to the Canary Islands and the Iberian Peninsula, the rabbit's foot fern has very graphic fronds. And its exposed rhizomes are as soft and silky as a small animal's coat.
How to recognize the rabbit's foot fern, Davallia canariensis?
Davallia canariensis is a deciduous perennial epiphytic fern. It measures 60 centimetres high and one metre wide. Its bushy, drooping habit makes it a sought-after indoor plant for hanging baskets and green walls.
Its short, thick rhizome grows on the surface. It is covered with scales and beige hairs that give it a golden sheen. Does your fern have brown rhizomes with silver highlights? Then it's not a Davallia canariensis. It's probably a Squirrel's foot fern (Davallia trichomanoides).
Unlike the rhizomes, the stipe of the Rabbit's Foot Fern is glabrous. It supports the triangular, finely cut fronds. Dark green, they measure between ten and 30 centimetres in length.
Rabbit's Foot Fern produces neither flowers nor fruit. It multiplies thanks to its spores, which are spread by the wind. These are grouped in ochre sporangia on the underside of fertile fronds. They appear between March and November.
Davallia canariensis is non-toxic. It can cohabit with young children and pets.
Our care tips
If you want to start a fern collection, start with davallia canariensis. More resistant than other varieties, they can withstand a few forgotten waterings and tolerate lower hygrometry.
 Watering
Always keep the substrate moist, but not soggy. Water the substrate with room-temperature water. Use soft water, such as rainwater or demineralized water.
Excess water causes the roots and rhizomes to rot. Remove any standing water from the saucer and avoid over-wetting the aerial roots. If you have trouble using a watering can, water by capillary action. This way, you can be sure not to drown the rhizomes.
 Misting
Fogging foliage and rhizomes with room-temperature water improves hygrometry.
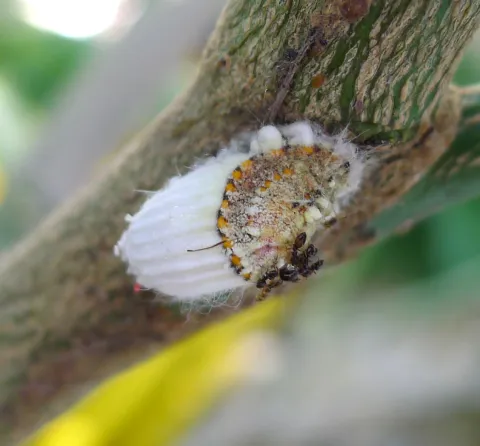
Spraying also helps combat pest attacks.
Use non-calcareous water to avoid leaving white marks on the foliage.
 Repotting
Your Davallia canariensis has shallow underground roots and a spreading habit. Choose a pot that is wider than it is tall. Prefer a perforated container, so that excess water can drain away.
Fill your pot with a substrate for epiphytic and acid-loving plants. For example, mix 50% peat moss, 25% sand and 25% ordinary potting soil. Plant your fern in the center without burying the rhizomes.
Spray the soil and rhizomes with non-calcareous water at room temperature after repotting.
 Fertilization
To promote the growth of your Davallia canariensis, apply fertilizer in spring and summer.
Fertilize your Davallia canariensis with a green plant fertilizer diluted with water. Divide the dose prescribed by the manufacturer by four.
 Prune
To encourage the growth of your Davallia canariensis, prune regularly.
Remove dry fronds.
 Taking cuttings
Cutting is carried out during the strong growth phase, generally in spring and early summer.
Take advantage of repotting to divide rhizomes. Take a bunch of fronds with roots. You can separate it from the mother plant with your hands, or use a clean, sharp instrument (scissors, pruning shears, knife, etc.).
Fill a pierced pot with a mixture of peat moss, potting soil and perlite. Place the rhizome on the substrate, without burying it. You can hold it in place with an iron clip or hairpin.
Your cutting needs plenty of moisture to grow. Grow it in a greenhouse. You can place the pot in a mini greenhouse, in a transparent crate or in a translucent bag with an airtight seal.
Place your cutting in a bright room, with a temperature of at least 20°. Mist the substrate regularly to keep it moist, and aerate for a few minutes a day.
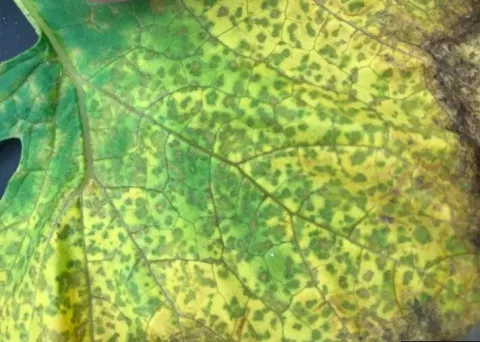
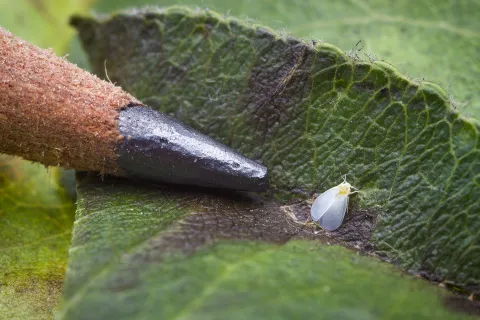
Diseases / Threats
Information
- Lifecycle
- Perennial
- Foliage
- Evergreen
- Exposures
- SunHalf-shade
- Substrate
- Loamy soil
- Planting method
- In pots
- Categories
- RhizomeHerbaceousHanging plants
- Tag
- Beginner
- Origins
- Southern EuropeWestern Europe
- Hardiness (USDA)
- 9b (-3.9°C ≤ T° < -1.1°C)
- Leaf color
- Light green
Discover plants from the same family


Find out more
Find all our tips in the Monstera application